Showing posts with label Cinnamon. Show all posts

Monday, 16 June 2014

Mango Coconut Chia Pudding

I love healthy, low-fat dessert alternatives that actually taste good!
Recently in Chicago, we dined at an amazing restaurant called Baxter's where they served a Chia pudding to die for. Inspired by that, I created the below recipe for a Mango Coconut Chia Pudding I hope you'll love as much as I do.

What You'll Need:
  • Large Bowl
  • 1/3 cup chia seed
  • 1 can light coconut milk
  • 1 tsp cinnamon
  • 1 tsp vanilla extract
  • Frying pan
  • 1/2 cup of fresh mango (or frozen mango pieces that have been left to thaw)
  • 1/4 cup unsweetened, shredded coconut


What You'll Do:
  • Empty the contents of your light coconut milk into your large mixing bowl
  • Gently pour in your chia seeds and stir thouroughly until combined
  • Stir in your cinnamon and vanilla
  • Cover and let sit in the fridge for a minimum of four hours  
  • Heat your frying pan and pour in your coconut, toast until lightly browned (I use a non-stick frying pan and find you don't need any oil to toast the shredded coconut). Once browned, place in a small bowl
  • Chop your fresh (or thawed) mango into little, cubed pieces and keep cool in the fridge
  • Once the pudding has set, you will notice the tiny chia seeds have now grown in size and the mixture is very gelatinous and thick. The seeds now look more like tapioca
  • Portion out the pudding and place your chopped mango and toasted coconut on top
  • Serve and enjoy

Super simple, super tasty and super healthy. This Mango Coconut Chia Pudding dessert is a healthy indulgence, perfect for a summertime dinner party.

The STEWART SCORE:
Appearance: Not going to lie here, it looks a little weird. Sort of like caviar...

Taste: 2

Ease: 2


Monday, 24 September 2012

Turkish Inspired Stuffed Peppers

While in Istanbul last week I ate the most incredible foods.
One dish that stood out was a stuffed tomato I had as part of a mixed mezze platter.
The tomato was baked and filled with an aromatic rice, nuts and onions. The best part was the hint of cinnamon.

As I had no tomatoes large enough, I used red peppers I bought from the local market instead. Instead of rice, I felt like couscous, so I used that. I also tossed in some dried apricots as a lot of Turkish dishes have apricots and I think they make everything tastier. Martha would agree.

They turned out like heaven. Simple, easy, tasty heaven.

What You'll Need (four servings):
  • Four large red peppers
  • Tinfoil
  • Baking pan
  • 1 cup or 250 g of Couscous
  • 1 cup or 250 g of boiling water
  • 1 Onion
  • 1/2 cup or 125 g of chopped Green onion
  • 1/4 cup or 63g of fresh pine nuts
  • 1/4 cup or 63 g of dried apricots
  • Freshly ground pepper to taste
  • 1 Tsp of your best cinnamon, I like this one from The Silk Road Merchants in Calgary

What You'll Do:
  • Dice your onion into small cubes, like this
  • Dice your dried apricots into small pieces
  • Chop your green onion into fine pieces
  • In a small, non-stick frying pan, add in your diced onion, just covered in water, and simmer until softened
  • Cut the top of each pepper off and empty all the seeds
  • Trim down the bottom of each pepper, so they stand straight up in the pan
  • Pre-heat your oven to 190C or 350F 
  • Line your baking tray in tin foil to help prevent the peppers from sticking
  • Boil one cup of water on the stove top
  • When boiled, add in your couscous and remove from heat, cover with a lid
  • Place your empty peppers into the oven to cook for about ten minutes
  • After five minutes of resting, fluff your couscous (as it can get sticky) and add in your cinnamon, a twist of freshly ground pepper, sauteed onion, chopped green onion, chopped apricot and pine nuts
  • Stir until thoroughly mixed
  • Remove your partially cooked peppers
  • Stuff each pepper with enough couscous mixture to fill it to the top
  • Bake the peppers for another ten minutes

Enjoy!

These babies go great with chicken or salmon...or on their own. So easy, so tasty.

The STEWART SCORE:
Appearance: 2 (they are so colourful...just like Martha's language)
Taste: 2 (the hint of cinnamon makes them taste so exotic)
Ease: 2 (if they were any easier, they would be my sister....I kid, of course)


Sunday, 24 June 2012

Famous 'Winkel' Dutch Apple Pie


I lived in Amsterdam and there is a very famous cafe called Winkel that boasts the very best Dutch apple pie in the city. By the constant line-up, I think they rightfully can claim this title.

The pie recipe is, of course, a super secret - but, with some thorough research of some trustworthy sources (to be quoted below), I found the recipe and successfully made the pie...which is actually more like a cake.

The secret of the Dutch apple pie is in the crust. It is a not a typical, thin, flaky pie crust. It is thick, fully encasing the filling in a soft, delicious rapture of dough that is more similar to a cake or a dense cookie.

This pie is not that easy. If you are thinking you want to give 'er a try - give yourself a couple of hours of prep time and clean up time.

OK - here we go!

What You'll Need - Tools of the Trade:
  • A mix master (I used my hand-held mixer and it was a sorry excuse, but not impossible!)
  • Large mixing bowls
  • An apple peeler (I don't have one so, in a very Dutch-inspired solution, I used my cheese peeler - worked like magic!)
  • A cute apron (as Martha would love that)
  • A fervent belief that hot apples, cinnamon and raisin are the perfect combination
  • Parchment paper
  • A large, spring-form pan, an 8" pan is what I use


What You'll Need - The Crust: *Please note, I am so sorry!! I had 5 cups of flour repeated by accident. The below ingredients is now correct*
  • 1 1/3 cups, firmly packed brown sugar (brown sugar seems really extra dark here in the Netherlands)
  • 1½ cups  unsalted butter, cubed, room temperature
  • 5 cups of all-purpose baking flour
  • 1/4 tsp salt
  • 2 eggs, slightly beaten (crack them into a separate container first to ensure you don't have a foul fowl)
What You'll Need - The Filling:
  • 8 apples (I used 4 harder and more tart, Granny-Smith and 4, softer and sweeter Pink Lady style apples)
  • 2 Tbsp cinnamon (I used 1 Tbsp Cinnamon and 1Tbps Apple Pie Spice, from my favourite spice store - The Silk Road Spice Merchant, in Calgary Canada)
  • Zest of ½ orange
  • Zest of  ½ lemon
  • Juice of ½ lemon
  • 1/3 cup brown sugar 
  • 2 tsp  cornstarch to thicken the mixture
  • 1 shot  Calvados (This is an apple brandy, adding booze is totally optional. I substituted this for whiskey...because I am an Alberta girl) 
  • ½ cup Raisins (Optional - but totally delicious)


What You'll Do:
This is a multi-step process, to make the most of your time, you will want to work on the dough first - that way it can sit and work together as you prep your filling.

Step One - The Magical Dutch Dough:
  • Preferably in your mix master, mix the room-temperature butter and your brown sugar until they are creamy. Add in nearly all your slightly beaten egg mixture and sprinkle your salt over top. Mix this until really well combined. The saved egg will be used later as an egg wash for the top
  • Now, in a separate bowl, mix together the remaining dry ingredients, so they are fully combined
  • Then, slowly and steadily add your dry mixture to your bowl of butter, sugar, egg and salt. Make sure the dry mixture is all incorporated by scraping down the sides of your bowl as you go (Obviously shut the mixer to off when you do this. Martha likes people with ten fingers.)
  • OK - now you are probably like - does this look right? The dough is a little sticky and resembles the consistency of a cookie dough. Channel Martha. Trust your baking skills, and don't add anymore flour!
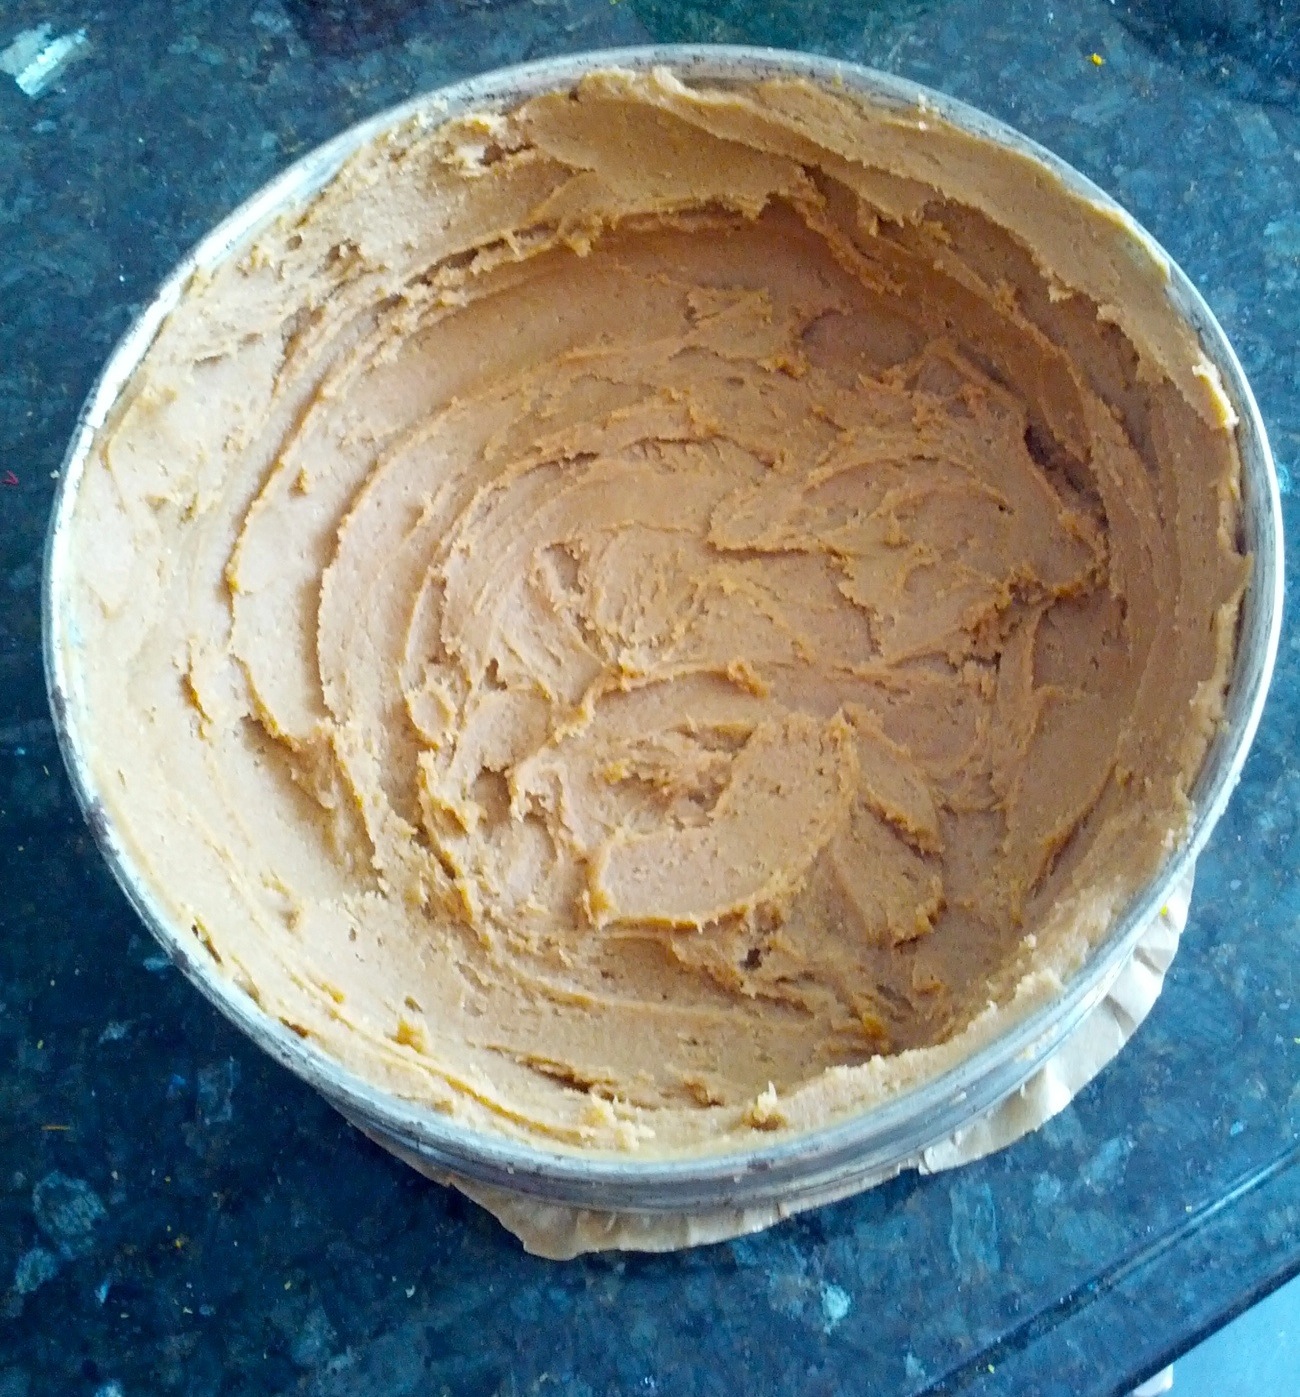
  • Finally cover your beautiful dough ball with plastic wrap and let this sit until you have completed your filling and prepped your pie pan
  • Pre-heat your oven to 180F (350C)

Step Two - The 'Adult' Apple Filling:
  • Get your second large bowl and your apple peeler
  • Peel, then core your apples
  • Chop them into chewable-sized pieces, not too big, not too small and toss them into the large bowl
  • Get a smaller bowl
  • Zest your orange, then zest your lemon
  • Add the zest into the smaller bowl
  • Squeeze the juice of half of the lemon you just zested into the smaller bowl
  • Add in your cinnamon spice (or spice mixture if you cut it with Apple Pie Spice like I did)
  • Add in your raisins
  • Shake in your cornflour
  • Pour in your shot of Calvados, or Whiskey (this is optional)
  • Mix this all together until the spices have become close friends with those raisins
  • Set this aside so you can go prep your pan!

 Step Three - Getting Your Pan Ready:
  • Remember, you can not use a normal pie pan. You have to use a large, deep spring form pan
  • Grease the sides and bottom of the pan with butter, ensuring you cover the entire surface area, as you don't want your pie to stick (Martha would be so pissed if that happened!)
  • Cover the bottom of your pan with a sheet of parchment paper

Step Four - Making a Tasty Mess:
  • Uncover your resting dough
  • Place 1/4 of it into a separate bowl for the pie topping
  • Spread the dough out as evenly as you can, on all sides of the pan
  • Its sticky, so I found if you take small portions of dough and work with them, connecting each piece once you have formed it into place, that worked best


  • This process was messy, but fun and when you finish covering the sides with dough, re-mix your filling to ensure not all the raisins have sunk to the bottom, and begin to pour on top
  • Try not to leave much space in between each apple piece, as you want all 8 apples to fit neatly into this pie
  • When you get to the top, shuffle the apples around a bit with your hands to ensure your top is even with no distinct peaks or valleys


  • Here comes the tricky part. The apples are wet and the dough is soft, so it is not easy to cover your pie. I found the below method worked the best for me - but I'd love to hear how you handle this!
  • Take smaller pieces of dough and roll them into balls, as if you were making cookies. With your fingers, flatten the dough out so you have a little, squarish pieces of dough 
  • Now, working from the edges of the pie towards the middle, place the flattened squares along the edges of the pie, connecting each piece together and trying to make a seal with the dough and the sides of the pan. Once you have a full circle of connected dough, move inward. Work on the next pieces, connecting those until the entire surface is covered
  • If you run out of dough, at least the empty space will be in the centre and not the edges, keeping all the bubbling juices inside the pie and help keeping your oven clean
  • Now you have the option to do an egg wash on the top of your pie with your saved dough egg and sprinkle more brown sugar. I opted for both but I don't think the egg wash is necessary.

Step Five - Bake that Baby!
  • Place your perfectly sculpted pie into your preheated oven
  • Bake for one hour, checking in at about the 45 minute mark to ensure the top isn't browning too fast
  • If it is, place some foil over top so the topping doesn't burn before the middle is cooked
  • I baked my pie for 75 minutes but depending on how hot your oven is, you may go less or more

Step Six - Let Cool, Serve, Brag, Enjoy
  • Take your pie out of the oven - my pie leaked a bit and it was a tricky maneuver getting the pie out without dropping it - so I called in back-up, my husband, who assisted me with the pie removal (Martha has assistants, too you know)
  • Let your pie cool for at least four hours. Seriously. Or else it will fall apart, shattering your pie dreams in the process
  • I left mine over night as I didn't want to risk a pie disaster at the baby shower
  • You will need a sharp knife to cut through the thick crust
  • Unhinge the springform pan and serve up
  • I served mine with slagroom (Dutch for whipped cream) that I added vanilla and cinnamon into, but you can also serve it with vanilla ice cream, or a nice glass of white wine...Martha would agree, white wine goes well with everything
  • Sit back and soak in the compliments because this is one damn fine pie


The STEWART SCORE:
Appearance: 1.5 (I think I can make it prettier next time with a little more dough-sculpting practice under my belt)
Taste: 2 (HEAVEN. The best pie I have ever made, my husband agrees)
Ease: 1 (this is not an easy recipe)


A huge thank you to these blogger super sleuths who uncovered this secret recipe that I tried my best to recreate:
Food Nouveau
Dutch.British.Love
The Amsterdam Files