My husband and I are in Paris this week. The home of Pierre Dukan and the epicentre of the Dukan diet.
Why must there be so much delicious white bread, incredible wine and ooey, gooey cheese....
*Le sigh*
But - at the grocery store yesterday I noticed they carry the line of frozen Dukan meals...I wish we had those in Amsterdam!!
Wednesday 27 June 2012
Sunday 24 June 2012
Lemon Lavender Cupcakes
I am currently obsessed with lavender.
I want to put it in everything I bake and cook.
Like - lavendar roast chicken?! Yes please! Or lavender crème brûlée!? Oh my!
For the baby shower however, I decided to make cupcakes so I could decorate them all cute - just like Martha would. These, like my Dutch Apple Pie, are totally not gluten-free, low-glycemic or Dukan friendly.
So - how did I make these cupcakes?
Easy as pie...but not Dutch Apple Pie (that was super hard).
What You'll Need:

STEWART SCORE:
Appearance: 2
Taste: 2 (they were a hit!)
Ease: 2 (they would still rank a 2 even if you don't cheat and use a boxed mix)
I want to put it in everything I bake and cook.
Like - lavendar roast chicken?! Yes please! Or lavender crème brûlée!? Oh my!
For the baby shower however, I decided to make cupcakes so I could decorate them all cute - just like Martha would. These, like my Dutch Apple Pie, are totally not gluten-free, low-glycemic or Dukan friendly.
So - how did I make these cupcakes?
Easy as pie...but not Dutch Apple Pie (that was super hard).
What You'll Need:
- A vanilla cupcake mix from the grocery store (I know...mega cheat, I can feel Martha shaking her head). My cake mix called for the following to be added: 2 eggs, 100ml skim milk, 1/3 cup room temperature butter
- 1 Tbsp dried lavender
- 1 large lemon for zesting and juicing
- Zest your lemon
- Pestle up your dried lavender so it is a bit more fine
- Add the two eggs and milk into the pre-made cake mix
- Blend with your hand mixer until smooth
- Slowly chunk in the room temperature butter and mix until very smooth
- Add in your lavender and lemon zest
- Squeeze half of your lemon into the mix (I usually pre-squeeze the lemon over a separate bowl so I can remove all seeds first)
- Mix thoroughly
- Pour into 12, lined cupcake tins
- Bake for how long your boxed mix said to at the heat it told you to. Mine said 20 minutes at 180C (or 350F)
- Let cool completely before you decorate - nobody likes runny icing
- I made a simple glaze for my cupcakes as I am not an icing/frosting fan
- You can add some lemon juice into your glaze and even add a few dried lavender flowers on top to really hit it home that you are a culinary wizard
- I made a lemon lavender cake a few weeks back, and instead of a glaze, I candied lemons and added the lemon-infused simple syrup over the top (yeah I did!).

STEWART SCORE:
Appearance: 2
Taste: 2 (they were a hit!)
Ease: 2 (they would still rank a 2 even if you don't cheat and use a boxed mix)
Famous 'Winkel' Dutch Apple Pie

The pie recipe is, of course, a super secret - but, with some thorough research of some trustworthy sources (to be quoted below), I found the recipe and successfully made the pie...which is actually more like a cake.
The secret of the Dutch apple pie is in the crust. It is a not a typical, thin, flaky pie crust. It is thick, fully encasing the filling in a soft, delicious rapture of dough that is more similar to a cake or a dense cookie.
This pie is not that easy. If you are thinking you want to give 'er a try - give yourself a couple of hours of prep time and clean up time.
OK - here we go!
What You'll Need - Tools of the Trade:
- A mix master (I used my hand-held mixer and it was a sorry excuse, but not impossible!)
- Large mixing bowls
- An apple peeler (I don't have one so, in a very Dutch-inspired solution, I used my cheese peeler - worked like magic!)
- A cute apron (as Martha would love that)
- A fervent belief that hot apples, cinnamon and raisin are the perfect combination
- Parchment paper
- A large, spring-form pan, an 8" pan is what I use

What You'll Need - The Crust: *Please note, I am so sorry!! I had 5 cups of flour repeated by accident. The below ingredients is now correct*
- 1 1/3 cups, firmly packed brown sugar (brown sugar seems really extra dark here in the Netherlands)
- 1½ cups unsalted butter, cubed, room temperature
- 5 cups of all-purpose baking flour
- 1/4 tsp salt
- 2 eggs, slightly beaten (crack them into a separate container first to ensure you don't have a foul fowl)
- 8 apples (I used 4 harder and more tart, Granny-Smith and 4, softer and sweeter Pink Lady style apples)
- 2 Tbsp cinnamon (I used 1 Tbsp Cinnamon and 1Tbps Apple Pie Spice, from my favourite spice store - The Silk Road Spice Merchant, in Calgary Canada)
- Zest of ½ orange
- Zest of ½ lemon
- Juice of ½ lemon
- 1/3 cup brown sugar
- 2 tsp cornstarch to thicken the mixture
- 1 shot Calvados (This is an apple brandy, adding booze is totally optional. I substituted this for whiskey...because I am an Alberta girl)
- ½ cup Raisins (Optional - but totally delicious)

What You'll Do:
This is a multi-step process, to make the most of your time, you will want to work on the dough first - that way it can sit and work together as you prep your filling.
Step One - The Magical Dutch Dough:
- Preferably in your mix master, mix the room-temperature butter and your brown sugar until they are creamy. Add in nearly all your slightly beaten egg mixture and sprinkle your salt over top. Mix this until really well combined. The saved egg will be used later as an egg wash for the top
- Now, in a separate bowl, mix together the remaining dry ingredients, so they are fully combined
- Then, slowly and steadily add your dry mixture to your bowl of butter, sugar, egg and salt. Make sure the dry mixture is all incorporated by scraping down the sides of your bowl as you go (Obviously shut the mixer to off when you do this. Martha likes people with ten fingers.)
- OK - now you are probably like - does this look right? The dough is a little sticky and resembles the consistency of a cookie dough. Channel Martha. Trust your baking skills, and don't add anymore flour!
- Finally cover your beautiful dough ball with plastic wrap and let this sit until you have completed your filling and prepped your pie pan
- Pre-heat your oven to 180F (350C)
Step Two - The 'Adult' Apple Filling:
- Get your second large bowl and your apple peeler
- Peel, then core your apples
- Chop them into chewable-sized pieces, not too big, not too small and toss them into the large bowl
- Get a smaller bowl
- Zest your orange, then zest your lemon
- Add the zest into the smaller bowl
- Squeeze the juice of half of the lemon you just zested into the smaller bowl
- Add in your cinnamon spice (or spice mixture if you cut it with Apple Pie Spice like I did)
- Add in your raisins
- Shake in your cornflour
- Pour in your shot of Calvados, or Whiskey (this is optional)
- Mix this all together until the spices have become close friends with those raisins
- Set this aside so you can go prep your pan!
Step Three - Getting Your Pan Ready:
- Remember, you can not use a normal pie pan. You have to use a large, deep spring form pan
- Grease the sides and bottom of the pan with butter, ensuring you cover the entire surface area, as you don't want your pie to stick (Martha would be so pissed if that happened!)
- Cover the bottom of your pan with a sheet of parchment paper
Step Four - Making a Tasty Mess:
- Uncover your resting dough
- Place 1/4 of it into a separate bowl for the pie topping
- Spread the dough out as evenly as you can, on all sides of the pan
- Its sticky, so I found if you take small portions of dough and work with them, connecting each piece once you have formed it into place, that worked best
- This process was messy, but fun and when you finish covering the sides with dough, re-mix your filling to ensure not all the raisins have sunk to the bottom, and begin to pour on top
- Try not to leave much space in between each apple piece, as you want all 8 apples to fit neatly into this pie
- When you get to the top, shuffle the apples around a bit with your hands to ensure your top is even with no distinct peaks or valleys

- Here comes the tricky part. The apples are wet and the dough is
soft, so it is not easy to cover your pie. I found the below method
worked the best for me - but I'd love to hear how you handle this!
- Take smaller pieces of dough and roll them into balls, as if you were making cookies. With your fingers, flatten the dough out so you have a little, squarish pieces of dough
- Now, working from the edges of the pie towards the middle, place the flattened squares along the edges of the pie, connecting each piece together and trying to make a seal with the dough and the sides of the pan. Once you have a full circle of connected dough, move inward. Work on the next pieces, connecting those until the entire surface is covered
- If you run out of dough, at least the empty space will be in the centre and not the edges, keeping all the bubbling juices inside the pie and help keeping your oven clean
- Now you have the option to do an egg wash on the top of your pie with your saved dough egg and sprinkle more brown sugar. I opted for both but I don't think the egg wash is necessary.
Step Five - Bake that Baby!
- Place your perfectly sculpted pie into your preheated oven
- Bake for one hour, checking in at about the 45 minute mark to ensure the top isn't browning too fast
- If it is, place some foil over top so the topping doesn't burn before the middle is cooked
- I baked my pie for 75 minutes but depending on how hot your oven is, you may go less or more
Step Six - Let Cool, Serve, Brag, Enjoy
- Take your pie out of the oven - my pie leaked a bit and it was a tricky maneuver getting the pie out without dropping it - so I called in back-up, my husband, who assisted me with the pie removal (Martha has assistants, too you know)
- Let your pie cool for at least four hours. Seriously. Or else it will fall apart, shattering your pie dreams in the process
- I left mine over night as I didn't want to risk a pie disaster at the baby shower
- You will need a sharp knife to cut through the thick crust
- Unhinge the springform pan and serve up
- I served mine with slagroom (Dutch for whipped cream) that I added vanilla and cinnamon into, but you can also serve it with vanilla ice cream, or a nice glass of white wine...Martha would agree, white wine goes well with everything
- Sit back and soak in the compliments because this is one damn fine pie

The STEWART SCORE:
Appearance: 1.5 (I think I can make it prettier next time with a little more dough-sculpting practice under my belt)
Taste: 2 (HEAVEN. The best pie I have ever made, my husband agrees)
Ease: 1 (this is not an easy recipe)
A huge thank you to these blogger super sleuths who uncovered this secret recipe that I tried my best to recreate:
Food Nouveau
Dutch.British.Love
The Amsterdam Files
Thursday 21 June 2012
What is Xylitol?
When I started the Dukan diet, a lot of the recipes called for artificial sweeteners. I don't like the taste of these, they always seem to leave a chemical aftertaste. There is a lot of reading to be done on the risks and benefits of these sweeteners, but I don't use them because they make my food taste bad.
In speaking with a friend, she recommended a naturally-occurring sweetener, called Xylitol.
Doing some reading on this sweetener before I bought it, I learned it is a naturally-occurring sugar substitute that can be found in things like oats, fruits and the mighty birch tree!

It is an organic compound that when extracted and processed creates a white granule (that looks like a finer sugar).
There are dentists that say it is good for the health of your teeth as it, unlike sugar, does not convert to an acid in your mouth and therefore does not promote tooth decay. Reports say it helps to stabilize insulin levels without the negative side effects of sugar. It is low in calories and, in baking and cooking, tastes just like sugar without a chemical aftertaste.
When limited in quantity (under 50g a day) everything I have read says it is a completely safe alternative to sugar and artificial sweeteners. It is not, however safe for pets - so don't sneak Fido anything you make using it.
Here are some of the best sources of information I have found, if you would also like to do some research of your own:
Wikipedia
Xylitol Canada
WebMD
My favourite brand of Xylitol, as I have mentioned in my Almond Flour, Sugar-Free Cookie recipe below, is Ideal No Calorie Sweetener. It is one of the only brands you can buy in the Netherlands and you can buy it in portable packets or in pouches for baking. It is not 100% xylitol, but it has zero chemical after-taste.
I think Martha would be down with xylitol, so the Stewart Score for Xylitol is:
Appearance: 2
Taste: 2
Ease: 1 (It is not easy to find in The Netherlands, but perhaps in other parts of the world you don't have to order it online and can find it in stores).
Tuesday 19 June 2012
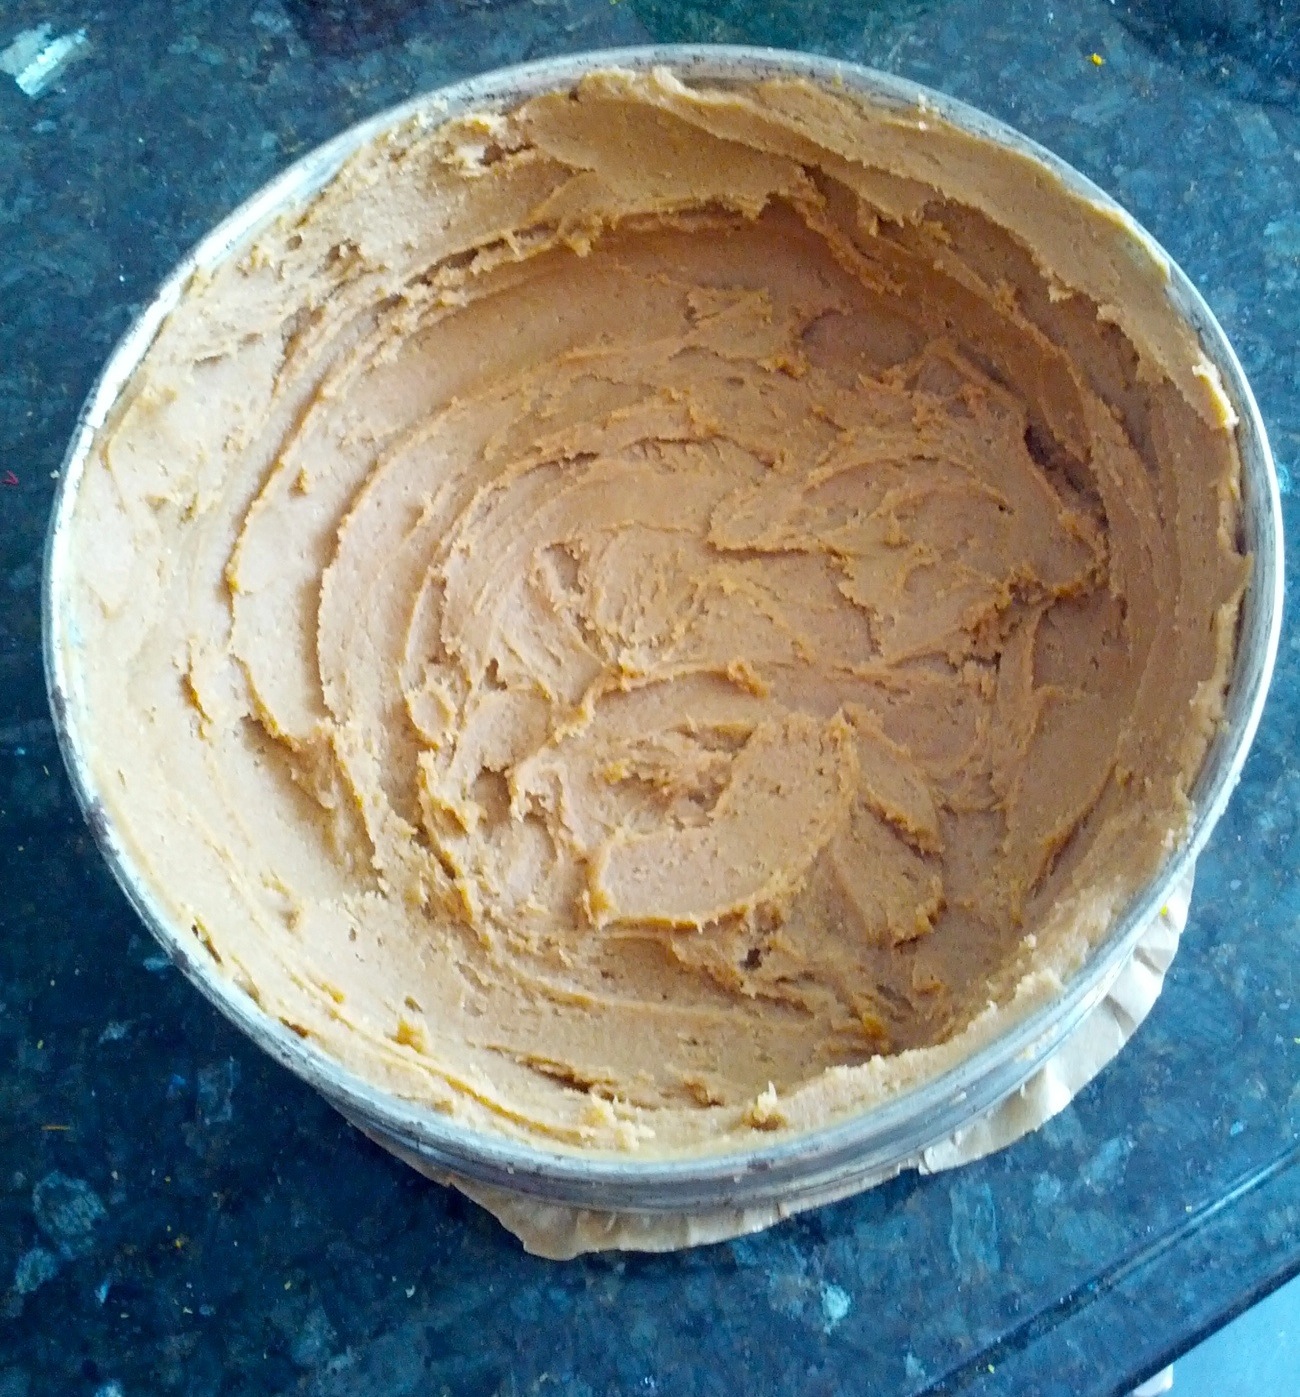
My Favourite Dukan Friendly Marinade
You eat a lot of meat on the Dukan diet. For someone who is neither here nor there about meat and can easily go without it, eating it all the time has been a bit of a challenge.
To spice things up, literally, here is a wonderful meat marinade you can use on chicken, lean beef, turkey breast, or on your vegetables in a stir fry.
What You'll Need:

What You'll Do:
Because this is a marinade, you can mix all the ingredients together and let your meat of choice sit in it, covered in plastic wrap, to soak, refrigerated in the flavour for a few hours, or, what I like to do if I am making poultry is this:

You can also use this marinade as the sauce for your vegetables - by pouring over top and allowing the vegetables to soak up the flavour. If I use it as a vegetable sauce, I will add a little water, maybe 1/3 cup so the vegetables have something to cook down inside.
You can also eliminate the garlic if it plays tricks on you, and just stick with the chili paste.
STEWART SCORE:
Appearance: 1 (Its brown and chunky...hardly magazine spread worthy)
Taste: 2
Ease: 2
To spice things up, literally, here is a wonderful meat marinade you can use on chicken, lean beef, turkey breast, or on your vegetables in a stir fry.
What You'll Need:
- 3 Tbsp low-sodium, gluten-free soy sauce
- 3 Tbsp balsamic vinegar
- 1 Tbsp powdered sweetener, I use Ideal. You can also use a brown-sugar sweetener, if you can find it...the Netherlands does not seem to have it
- 1/2 clove of crushed garlic (this is optional)
- 1 tsp chili paste, I use the Conimex Sambal Oelek kind because there aren't many crazy, non-natural ingredients used, and its readily available at the neighbourhood Albert Heijn

What You'll Do:
Because this is a marinade, you can mix all the ingredients together and let your meat of choice sit in it, covered in plastic wrap, to soak, refrigerated in the flavour for a few hours, or, what I like to do if I am making poultry is this:
- Dice raw poulrty into equal-sized pieces (if you put your meat in the freezer for 45 minutes beforehand, it makes it a lot easier to cut!)
- Brown the meat on both sides in a non-stick frying pan
- Pour in the fully mixed marinade into the non-stick frying pan with the browned meat
- Let simmer until the meat is fully cooked and the marinade has almost all been soaked up
- Voila!

You can also use this marinade as the sauce for your vegetables - by pouring over top and allowing the vegetables to soak up the flavour. If I use it as a vegetable sauce, I will add a little water, maybe 1/3 cup so the vegetables have something to cook down inside.
You can also eliminate the garlic if it plays tricks on you, and just stick with the chili paste.
STEWART SCORE:
Appearance: 1 (Its brown and chunky...hardly magazine spread worthy)
Taste: 2
Ease: 2
Almond Flour, Sugar-Free, Chocolate Sprinkle Cookies
Inspired by the
incredible chef, Elana Amsterdam, of the amazing Elena's
Pantry blog, I wanted to try a wheat-flourless take on the classic
chocolate chip cookie that would also be sugar-free. So I made up the below...and it worked out!

This almond-flour, xylitol-based chocolate 'chip' cookie recipe is a protein packed way to go wheat-free, sugar-free, and guilt-free.
What You'll Need:

Mix in the egg – I like to crack the egg open into a separate container first, to check its not a ‘bag egg’, this way you don’t potentially ruin your butter and sugar mixture with a foul fowl.


This almond-flour, xylitol-based chocolate 'chip' cookie recipe is a protein packed way to go wheat-free, sugar-free, and guilt-free.
What You'll Need:
- 1 1/2 cups of almond flour
- 1/4 cup xylitol sweetner (I use Ideal)
- 1/4 unsalted, room temperature butter (I would love to learn of some low fat alternatives from you!)
- 1 egg
- 1/4 tsp salt
- 1/4 tsp baking soda
- 1/2 tsp of vanilla extract
- 1/4 cup of Dutch chocolate-flavoured hagelslag (or 'sprinkles'...because they are more fun, and less calories than traditional chocolate chips).
What You’ll Do:
Preheat your oven to
375F or 190C (my oven runs hot, like me, so I put it to 180C).
Cream
the un-salted butter and powdered xylitol together until fluffy and smooth
looking.

Mix in the egg – I like to crack the egg open into a separate container first, to check its not a ‘bag egg’, this way you don’t potentially ruin your butter and sugar mixture with a foul fowl.
Pour
in your vanilla.
Next,
in a separate bowl, combine the almond flour, salt, and baking soda. Mix
until totally incorporated.

Slowly
pour the powdery mixture into your egg, butter, vanilla and sugar and mix/beat until
combined.
Pour
in your chocolate sprinkles and mix until combined thoroughly. Ensure the
batter is quite thick. If it is thin, shake in more almond-flour until you
reach a dense consistency.
Line
your baking tray with parchment paper.
Scoop
then roll the batter into small portions, spacing them evenly onto the covered
baking try. Try to make them equal - about the size of a round 2 Euro coin.
These cookies don’t spread too much, so, depending on the size of your tray,
you might be able to fit all the cookie balls onto one tray.
Yields
– 12 cookies (if you don’t sample any dough in the process;)
Bake
for 12-15 minutes or until goldeny brown. Remove from oven and let cool, or
don’t and shove them straight into your grinning, open mouth.
Super
delicious. And filling.
STEWART SCORE:
Appearance: 1 (Not the sexiest cookie on the block. To make them more glamorous (and less guilt-free), try dipping half in melted dark chocolate...ooh la!)
Taste: 2
Ease: 2
Monday 18 June 2012
Rosemary, Vanilla and Lemon Air Freshener

Though we tirelessly clean his litter box, he is a stinky little dude and there are days you desperately don't want to be 'those cat people'.
We have tried store-bought air fresheners and found them too powerful. We have tried organic compounds and found them useless.
I was reading up on herbs, as my herb garden is one of my new passions, and I found this ingeniously simple and aesthetically pleasing recipe for a Rosemary, Vanilla and Lemon air freshener.
Martha would be proud.
Its dead easy to make and made the house smell incredible in less than 20 minutes, sans harmful chemicals.
What You'll Need:
- One lemon
- A few springs of fresh rosemary
- 1 Tbsp of vanilla essence (you don't need to waste the real stuff, as vanilla essence does the trick).
- 2 cups water
- Medium-sized pot
Though I am sure Martha would use freshly scraped Madagascar vanilla pods and filtered Himalayan spring water, I didn't and the smell was still wonderful.
What You'll Do:
- Cut the lemon into thin slices
- Prune your rosemary bush of a few, longer stems
- Cover with water
- Add the vanilla essence
- Let simmer on a very low setting until desired smell is reached throughout your home. Check periodically to ensure the water is still covering all ingredients, top up if needed.

Stewart Score:
Appearance: 2
Taste: N/A
Ease: 2
1= Not Worthy
2 = Its a Good Thing
The Stewart Score
I love Martha Stewart.
Her magazines and TV show hold treasured ideas, always leaving me wanting to redecorate, become a professional pastry chef and move to Tuscany so I can garden and can harvest my own buffalo mozzarella.
Martha is the biggest domestic influencer. Making baking, cooking, cleaning and home-life glamourous. Making domesticity intelligent.
Aspirational.
Creating a do-it-yourself empire while challenging your idea of what the good life is.
Building this empire not as a sex symbol, or the wife of someone famous, but as an admirable aesthetic adventuress who understands how to portray the ideal in easy-to-follow steps.
Delicious procedures with intriguing narrative and stunning photography.
When I bake, cook, garden or craft - I often think if Martha would be down with what I was doing? Trying to channel her ingenuity into my own domestic life, I have created the Stewart Score.
Based on three key principles and ranked out of two, this simple scoring system is as follows:
The STEWART SCORE:
Appearance: 1 2
Taste: 1 2
Ease: 1 2
1= Not Worthy
2 = Its a Good Thing
My blog will rank each recipe I try. I would love to hear if you try something and have Martha-worthy results.
I hope you enjoy reading Martha Would be Proud!
 This photo was taken at the Wired Business conference
in New York, April 2011. She sat in front of me. I may have
tried to smell her hair...but I got this (slightly blurry) picture
with her. She nailed it, like a total pro.
Her magazines and TV show hold treasured ideas, always leaving me wanting to redecorate, become a professional pastry chef and move to Tuscany so I can garden and can harvest my own buffalo mozzarella.
Martha is the biggest domestic influencer. Making baking, cooking, cleaning and home-life glamourous. Making domesticity intelligent.
Aspirational.
Creating a do-it-yourself empire while challenging your idea of what the good life is.
Building this empire not as a sex symbol, or the wife of someone famous, but as an admirable aesthetic adventuress who understands how to portray the ideal in easy-to-follow steps.
Delicious procedures with intriguing narrative and stunning photography.
When I bake, cook, garden or craft - I often think if Martha would be down with what I was doing? Trying to channel her ingenuity into my own domestic life, I have created the Stewart Score.
Based on three key principles and ranked out of two, this simple scoring system is as follows:
The STEWART SCORE:
Appearance: 1 2
Taste: 1 2
Ease: 1 2
1= Not Worthy
2 = Its a Good Thing
My blog will rank each recipe I try. I would love to hear if you try something and have Martha-worthy results.
I hope you enjoy reading Martha Would be Proud!

in New York, April 2011. She sat in front of me. I may have
tried to smell her hair...but I got this (slightly blurry) picture
with her. She nailed it, like a total pro.
Sunday 17 June 2012
Welcome to my blog
I love to cook, bake, travel and pretty things. I also love me my Martha Stewart.
This is a space where I will post new recipes (most will be Dukan diet, gluten-free and low-glycemic), ideas for recipes, inspiration for crafts, and pretty things I find on my travels - successes and failures.
I will rank them all with my Stewart Score, while channeling the domestic vibes from the one, the only, Martha Stewart.

Subscribe to:
Posts (Atom)